
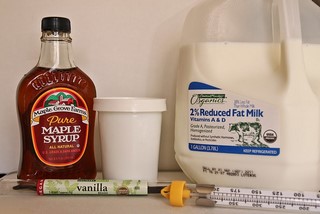
What you will need:
4 cups of milk (I usually use whole or raw milk but this is all I had the day I made this batch).
1/2 cup of live active culture yogurt or a yogurt starter (most store bought yogurt has live active cultures and will work).
3-4 Tablespoons of sugar/maple syrup or honey
1-2 inches of a vanilla bean
Once you start making your own yogurt all you will need to keep up the active culture is reserve 1/2 cup of yogurt from the last batch to mix in for the new batch.
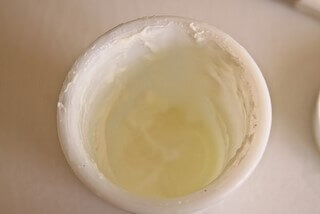
Set out half a cup of yogurt to use as your starter
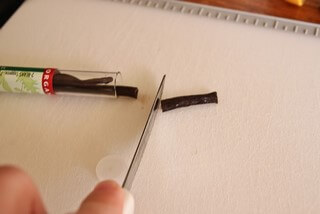
Cut off 1-2 inches of a vanilla bean
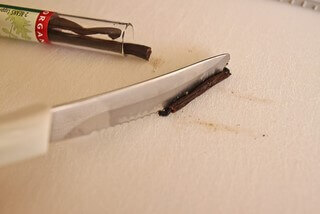
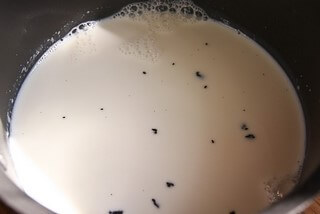
Split the bean and scrap the inside of it into the saucepan.
Add 4 cups of milk and 2-4 tablespoons of sugar/maple syrup or honey.The fragrance from the vanilla bean once heated with the milk is glorious!
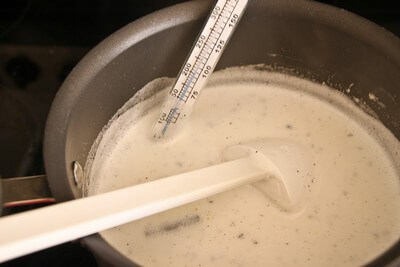
Put a kitchen thermometer into the pan and slowly stir until the temperature reaches 180-200 degrees. Once it reaches the desired temperature place it in a spot to slowly cool to about 100 - 120 degrees.
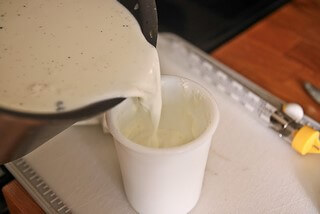
When the milk mixture reaches anywhere from 100-120 degrees it's safe to pour some milk into the 1/2 cup of yogurt, stir until blended
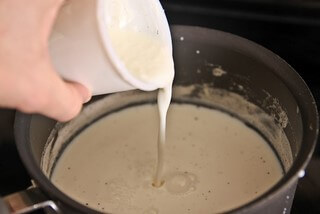
And then pour back into main mixture and stir well
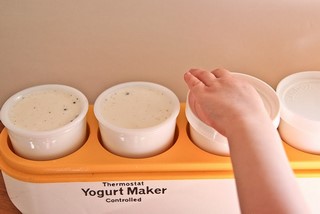
Pour the mixture into the yogurt maker (found mine for $1.50 at a thrift store) and allow little hands and fingers to gently place the lids on top. Let it incubate anywhere from 8-12 hours, the longer it incubates the more tart the yogurt will be.
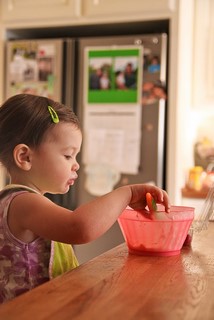
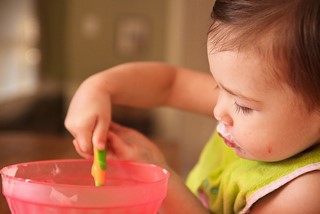
Place in the refrigerator to cool and then serve it with fresh fruit and granola to your sweet little one.
"Mommy this is yummy yo-yo!"


"I could eat it all day!"

A few extra tips:
*Rather than sweeten the yogurt mixture while it's hot you can wait for it to turn into yogurt and add a half of a teaspoon of sweetener to the top of each yogurt container.
* If your milk develops a film on top while it's cooling make sure to skim the milk so the film doesn't make it's way into the yogurt.
* If you like a thicker greek yogurt style, you can add two tablespoons of dry milk powder to the milk to thicken it a bit.
I had never thought of making my own yogurt before! Thanks for the instructions (and the sweet pics of Little Miss)!
Reply DeleteI just started feeding Will yogurt...I'm gonna try this!!!
Reply Delete-Erni
Is Baby Girl sitting at the bar? She's so big! I'll have to try some of that homemade yogurt when I come for a visit. You are so resourceful! Love you guys, Nonnie
Reply DeleteWhat a cool DIY post! This is something I would be afraid to try myself... you make it loomk so easy and delicious! andrea@townandprairie
Reply DeleteI found my yogurt maker at the thrift store too! Brand new in the box!!! I'm going to try this with the vanilla beans. I always add my flavors after the fact. I like to add my peach preserves I made this summer. YUM!!!
Reply Delete