
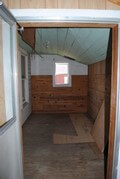
I don't have a full view of these other rooms because I didn't have my wide angle lens with me but I still want to show you a glimpse of what I did get.
Before
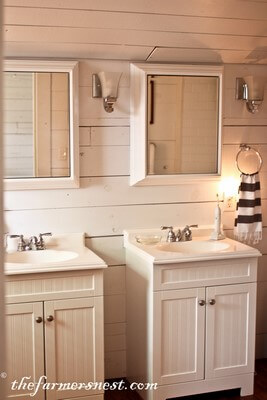
After
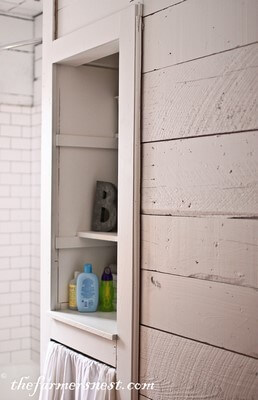
I love how they took the door off of the closet.
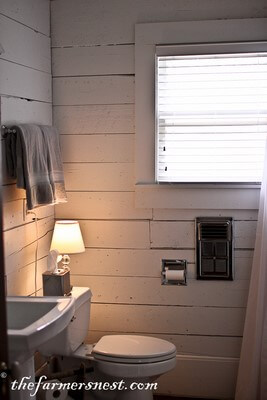
Before
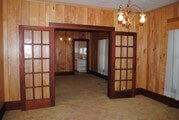
After

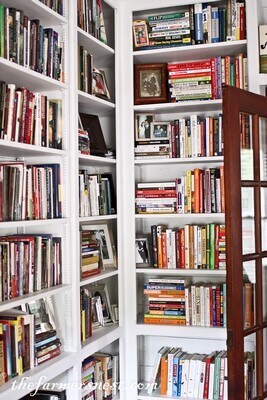

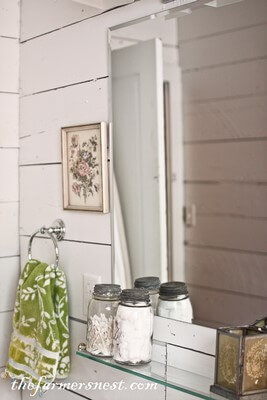
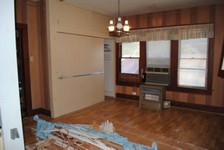
Before
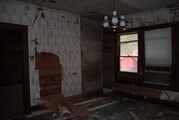
After


Some of you have commented and emailed regarding the curtains in the nursery. Here is what Jessica wrote about them.

It really was so easy, and just $10 a panel. I used two twin flat sheets from Wal-Mart ($5 each) and two bottles of fabric paint from Michaels (also about $5 each). I read several tutorials for sewing wide-stripes together, and this just sounded so much easier. I spread it out over two evenings because I didn't have lots of room to spread out and let both dry, but both could be completed in just a couple hours. I washed and dried the sheets first, put down an old quilt under the sheet (the paint did bleed through to the quilt), spread it flat (I pulled them out of the drier pretty quickly so they didn't need ironing), marked the stripes at each edge (The stripes were each 8" tall), then my husband helped me put the painters tape on straight. I painted with a 3" wide foam brush and was finished in no time at at all. To hang it I just cut a small slit in each side of the top wide hem of the sheet and slid the pole through. I was really happy with how they came out. The only thing I might change is to buy two more flat sheets and sew them on as liners to help with how light shines through them in a funky way (they look painted when light streams through them) and to darken the room a bit during naps if I pull them across the windows.
Jessica followed THIS tutorial.
Well.....that wraps it up for the Bevers Home Tour! As always thank you for stopping by!
SO MUCH FUN!!!!!!!!!!!!!!!!! Thankyou for sharing with us!!!
Reply DeleteThis is so inspiring!! I love the work you did, and I truly appreciate the photos and tutorial! Awesome! Excellent! Want to copy you!
Reply DeleteI love this house tour! Last time I was over was right after little M was born, so I haven't seen all of these finished spaces. It looks incredible!
Reply DeleteThanks so much for your posts on our little house, Robyn! We've enjoyed your lovely photos and all the sweet words about the remodel. This is the first time I've seen the before pics right next to how it looks now and it is encouraging that it was worth it!
Reply Deleteso every night after the kiddo is asleep i can't wait to get on this blog (as i do every night) now to see the remodels of the bevers home! how did they do that ship lap?? did part of the house already have walls like that? then they did some on their own? i love everything white in my own spaces therefore this home is FANTASTIC to look at! thanks for sharing - your photos are great - tutorial please on how to do those walls? reclaimed wood? screwed to existing walls? curious, curious, curious!!
Reply Delete